
How to Do a Cold Plunge at Home
Share
Cold plunges have gained popularity among athletes, fitness enthusiasts, and wellness seekers due to their benefits in muscle recovery, stress reduction, and overall well-being. Setting up an cold plunge at home can be a game-changer, but creating the perfect space requires careful planning. In this guide, we’ll walk you through how to set up the ideal cold plunge area at home.
1. Choose the Right Location
Selecting the right spot for your cold plunge is crucial for convenience and comfort. Consider these options:
-
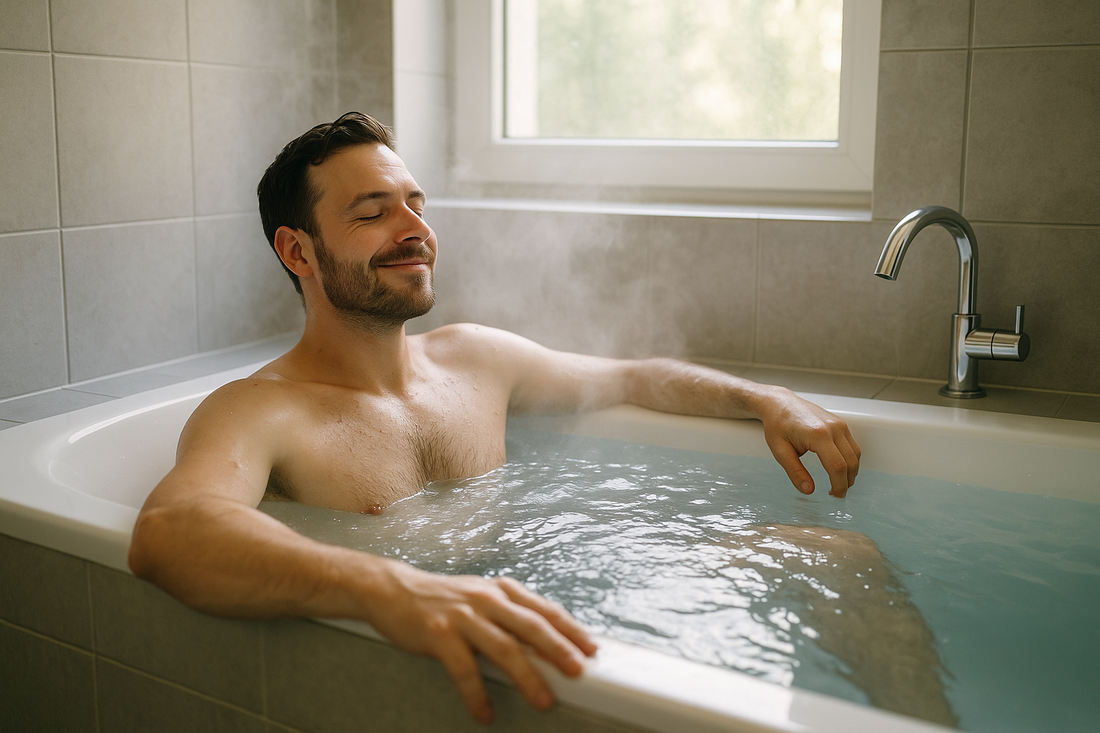
Bathroom: Ideal for easy water access and drainage.
- Backyard or Patio: Perfect for an outdoor spa-like experience.
- Garage or Basement: Provides a controlled indoor environment.
Ensure the area has good ventilation, a stable surface, and proper drainage to handle spills.
2. Select the Right Cold Plunge Setup
Your choice of cold plunge depends on your budget, space, and personal preferences:
- Cold Plunge Chiller: A dedicated chiller maintains a constant cold temperature without needing ice.
- Stock Tank or Portable Tub: A cost-effective solution that works well with manually added ice.
- Traditional Bathtub: A simple and accessible option if you have a deep enough tub.
3. Optimize Water Cooling and Filtration
Maintaining clean, cold water is essential for a refreshing and hygienic experience:
- Invest in a Water Chiller: Keeps the water cold without constant ice refills.
- Use a Filtration System: Helps remove debris and bacteria for a cleaner soak.
- Change Water Regularly: Depending on usage, refresh the water every few days or use chlorine tablets for maintenance.
4. Create a Comfortable and Safe Environment
Enhance your cold plunge setup for maximum comfort and safety:
- Non-Slip Mats: Prevents slipping when entering and exiting the tub.
- Insulated Cover: Helps retain cold temperature and keeps debris out.
- Side Table or Storage: Holds towels, thermometers, and recovery tools for convenience.
5. Monitor Temperature and Time
To get the best benefits without risks, track your cold plunge conditions:
- Ideal Temperature: Keep the water between 50-59°F (10-15°C) for effective cold therapy.
- Duration: Start with 2-3 minutes and gradually increase to 10-15 minutes per session.
- Use a Thermometer: Ensure consistency and safety in every session.
6. Enhance the Experience with Accessories
Take your cold plunge to the next level with these enhancements:
- Breathing and Meditation Tools: Use guided breathwork (e.g., Wim Hof method) for better cold adaptation.
- LED Lighting: Adjustable mood lighting can make your cold plunge area more inviting.
- Music or Sound System: Play relaxing music or guided meditations to enhance relaxation.
7. Maintain Your Cold Plunge for Long-Term Use
To keep your cold plunge setup in top condition:
- Regular Cleaning: Scrub the tub and replace water periodically.
- Check for Leaks: Ensure your tub and chiller are in good condition.
- Store Properly: If using a portable tub, drain and store it when not in use to prevent damage.
Final Thoughts
Creating the perfect home cold plunge setup is all about choosing the right location, equipment, and accessories to suit your needs. Whether you're using it for muscle recovery, mental resilience, or relaxation, a well-planned cold plunge area will maximize the benefits and make your experience enjoyable.
Start designing your home cold plunge today and experience the power of cold therapy right at your doorstep!